Today is December 6, 2014 and I have settled in for the winter. I have found a use for those landscaping bricks that I showed you in one of my first videos. I have made them into a fire pit for my back yard. I have also made a rabbit cover for this winter and it's an all seasonal so it can be used all year round. It opens on all sides but the back and can be opened however I choose at any given time. My chickens are doing well. They are not laying as of right now this is the stage that they "rest" and will be producing eggs again very soon :) We have stored up on them enough so when they rest, we will still have enough eggs to last us. There is a leak some where in the chicken coop and I thought maybe it was coming from the ceiling so I took some of that spray rubber that comes in a can like spray paint to fill in the tiny pin holes and even though it filled them in nicely, it still gets wet in there. I then thought maybe it was their water dish so I replaced that and it still gets wet in there. So that will be this coming springs project as well. If anyone has any ideas please feel free to let me know. This is a learning blog and I'm learning just as much as the next person. I have also learned how to pressure can chicken noodle soup a few different ways. Some with the noodles in all ready cooked, some with the noodles in but not cooked, some without noodles at all, and some where I put all the ingredients in the jars evenly and then put just the juice in last then pressure can. We like all the ways however, having the noodles cooked and then pressure canned, turned into more of a thick gravy that we pour over mashed potatoes and the kids and I just love it!! One of our favorites. Then where the veggies are raw and I put in the juice last and can is another of our favorites as when we just want a can of soup, we head for the pantry of home canned goods and nothing tastes better on a cold day than a homemade canned jar of chicken soup. :) The pressure canner is my new best friend. lol I have found that the two flats of peppers this year is going to be close to what I need for a winter however, I am going to plant three total flats this coming spring and I know then, I'll be right on key. I am also going to plant more corn as we just didn't have enough and it didn't grow evenly so I need to figure out a new placement for that. Our tomatoes did wonderful and I ended up with 78 quarts for the winter. :) I also need to cut a few branches off of the tree that is over top of my carrot raised bed because even with the new late planting, those still didn't take off. No sun I'm guessing. My potatoes did wonders and we have enough for the winter as well. I planted a total of 30 plants in a raised bed but only about 20 actually came on. Not sure why but I'm not going to complain as we were provided with a plentiful pantry for this winter. So I still need to make a few adjustments but as you know, I'm new to gardening on my own and making the most out of the little space that I have. My little land sure is landing big for my family and we couldn't be more blessed. I no longer have the truck that was shown to you for my outings of finding resources, so I'm in the process of figuring something out for that. Maybe when I find resources I can barter something to have them deliver it or make them a great deal they can't refuse. I will continue to blog throughout the winter. Just because it's off season, doesn't mean there isn't things to be done. As my father once told me, next years planting and projects starts the fall and winter before. As always, I'm still growing and thank you again for following me in this process.
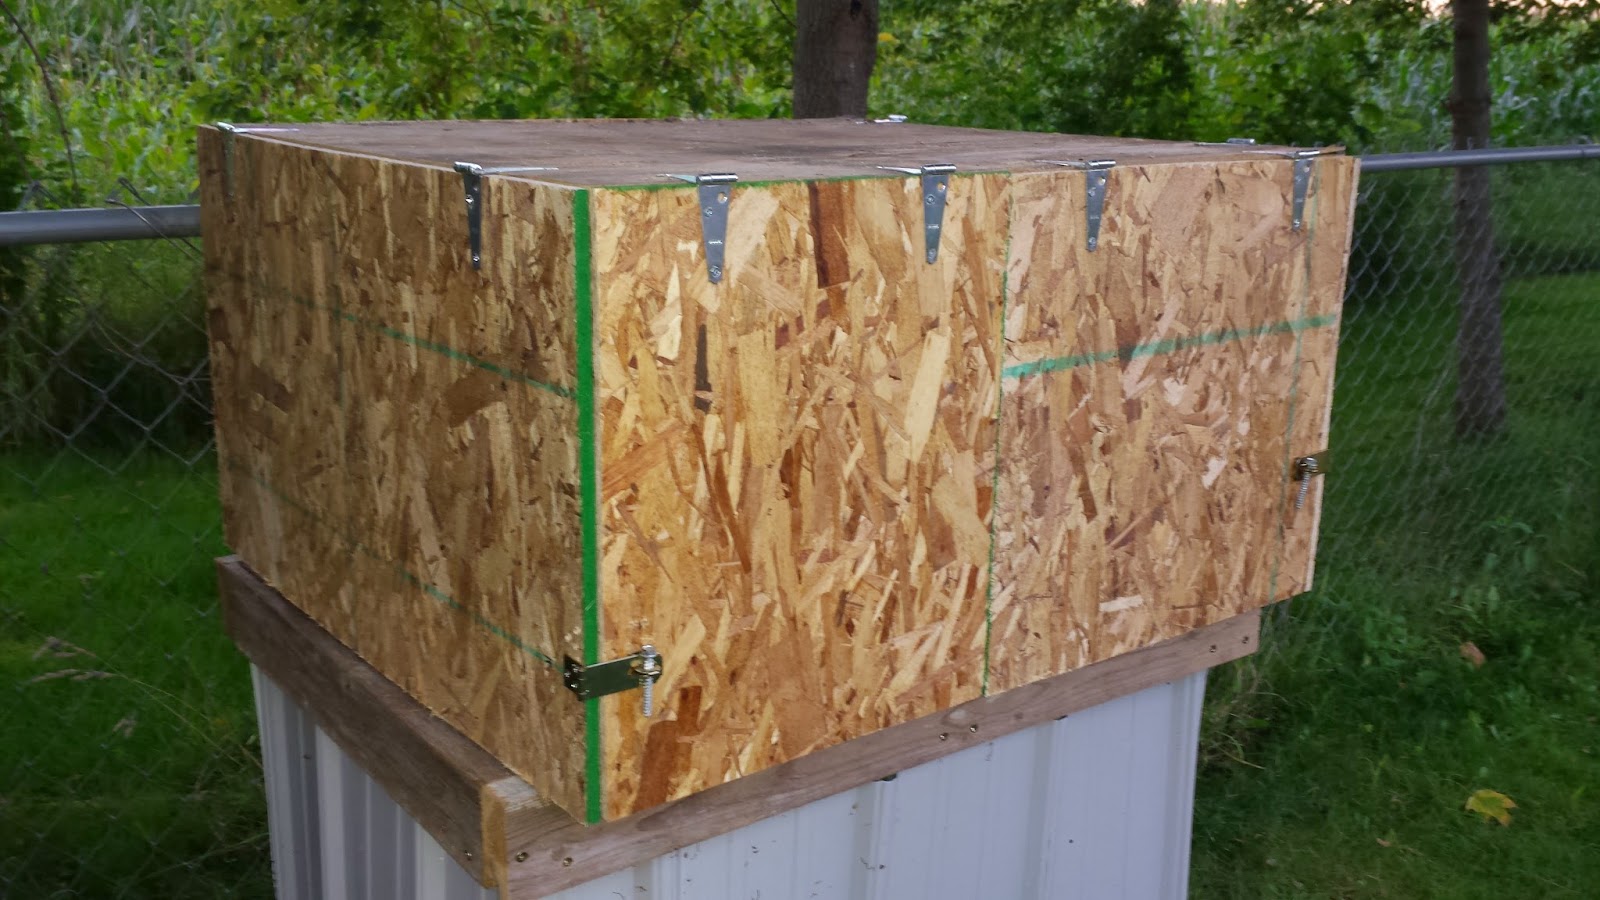
Below you'll find projects that I've done throughout the season (not in order) but I don't have any pictures of the fire pit so I'll add those at a later time. Some pictures you can see the start of a project, during a project and the finished project. I have added a couple things I've made out of pallets including a coffee table for myself and one for a friend. His has an old shotgun shell as the handle to the cubby hole underneath ;) A nice country touch. His I personalized with pictures and such but not all that I've made are like his, though I can make them to anyone's specifications. I have also made a few chairs and next spring I'm going to make a swing that hangs from a tree, a swing that sits in an A-Frame and a few other ideas, all out of pallets and a few other choice materials. I'm even in the process of thinking of some ideas for a play house for the grand kids all out of recycled materials.
My goal is to help you and your family cut your food bill, help save you money, and how to be self sufficient through utilizing resources that are all around us everyday. It doesn't take a lot of money or land to achieve the things that you want or need for your family. I hope you will follow me through this journey as I left the busy lifestyle behind for one where I can spend time with my children and enjoy the simple things in life. Thank you for following and enjoy :) God Bless!
Showing posts with label chicken feeder. Show all posts
Sunday, December 7, 2014
Friday, July 18, 2014
Video: DIY Chicken Coop for Under ten bucks (No Music)
DIY Chicken Coop
(No Music)
Thank you for the responses on my latest video of building your own chicken coop out of recycled materials. Some of you have expressed in certain countries that the video isn't available because of copyright pertaining to the video. So I have made one that is exactly the same as the original however, it doesn't contain any music. This should solve the problem. Thank you for the feedback and happy watching :) Just follow the link below.
Sara Ayres
Labels:
chicken coop,
chicken feeder,
Free,
full size chickens,
gardening,
Grit Magazine,
Homestead,
lumber,
materials,
medium chickens,
Pallets,
saving money,
self reliant,
video,
Videos
Location:
Michigan, USA
Video: DIY Chicken Coop for under 10 bucks
DIY Chicken Coop
Cost: 10 Bucks
Time: 3 Hours
Time: 3 Hours
Today with the help of family members and a friend we were able to build this chicken coop in roughly three hours and around ten bucks. Most materials were either given to me or left over from previous projects. The money invested was to build the feeder and the latch for the gate which was around five bucks. This simple do it yourself chicken coop with proper ventilation, will provide a nice nesting place all year round, and food for the table. Thus, cutting my family's food bill. Below is a materials list and a link to the video to see how it's done on YouTube. If you like what you see don't forget to follow me on my blog and to subscribe to my channel on YouTube. All this is possible because of all of you. So thank you for your continuous support and I look forward to all your comments and questions either through blogging, YouTube or my email.
Direct YouTube Link: http://youtu.be/X2eKY1rsb1I
Materials:
An existing shed
26' fencing
3- 10' wooden posts
2- Fence posts
3- Pallets (1 is for the gate)
Heavy duty wire
2- Floor vents (ventilation)
Handful of nails or screws
1- Gate latch
1- Bale of straw
Then of course your chickens, roost, nests, water, and feeder.
Extras but not necessary:
*I used 2- 2x4's screwed to the shed floor for extra stability of the fence but it wasn't necessarily needed. I also added 2 old wire sides of cages to the pallets on the end just to make sure the chickens couldn't get out but probably wasn't needed either.
Extras but not necessary:
*I used 2- 2x4's screwed to the shed floor for extra stability of the fence but it wasn't necessarily needed. I also added 2 old wire sides of cages to the pallets on the end just to make sure the chickens couldn't get out but probably wasn't needed either.
*Use materials you have on hand or barter with a neighbor, family member or friend. You can look on craigslist under the "free" sections too. You'd be amazed at what you'll find.
Tools:
Hammer or drill (depending on if you're using nails or screws)
Sawzall
Tuesday, July 15, 2014
Video: Chicken Feeder for Medium to Full Size Chickens
Chicken Feeder
for
Medium to Full Size Chickens
Today I created a video on how to make a chicken feeder for medium to full size chickens. The link is just before the step by step instructions. It is a simple project and will save you money. All it takes is your time (which took me roughly 20 minutes), and if you have the materials on hand (from previous projects or scouting), use those or you can purchase the items at any hardware store such as Menards, Lowe's, etc. I ended up purchasing the boards from Menards because I had already used what I had for something else. I walked out of Menards spending under 5 bucks and that included my water I bought :)
Materials:
1- 1x6 Base
1- 1x4 Sides
1- 1x1 1/2 spinning top
A hand full of nails (I used trim nails)
Tools:
Handsaw
Hammer
square
carpenters pencil
http://youtu.be/tbSN-5Z029k
Directions:
1. Cut the 1x6 in half so you have two 3 foot pieces and set one piece aside for later use.
2. Cut the 1x4 in half so you have two 3 foot pieces.
3. Nail both 1x4 pieces to each side of the 1x6 making sure it's flush on both ends.
4. Now take the 1x6 that you set aside and cut two pieces 8" long. These will be your side pieces.
5. Cut a notch in the ends of both 8" piece so a nail can freely spin inside it
6. Tap each 8" piece into the ends of the feeder and nail those on firmly.
7. Cut the 1x1 1/2 piece into 33 3/4" long and tap in a nail into both ends. Tap it in there firmly but not all the way.
8. Put the 1x1 1/2 piece with the nails in both ends into the notch that you cut in the 8" sides.
WOE LA you have your chicken feeder for medium to full sized chickens made. Congratulations!!!
Monday, July 14, 2014
Introductory Video Part 2
Part 2 has finally uploaded. It's direct link is:
http://youtu.be/e9sW2xDdYm0
or you can find me directly through YouTube....Ayres Acre Advice
http://youtu.be/e9sW2xDdYm0
or you can find me directly through YouTube....Ayres Acre Advice
Introductory Video Part 1
Introductory Video
Part 1
YouTube: Ayres Acre Advice
Introductory Video Part 1 http://youtu.be/hNK3QwFL2aY
Labels:
canning,
chicken coop,
chicken feeder,
gardening,
Homestead,
lumber,
Pallets,
storing canned goods,
video
Location:
Michigan, USA
Saturday, July 12, 2014
Today it has been sprinkling on and off and making it hard for me to get out there and make the chicken feeder like I need to get done. I am excited to get the video rolling. And with the rain, can't mow my lawn either. So to take advantage of the day, I went and did some grocery shopping and took the scenic route home. On days like this, I take advantage of getting those "other" things done that are good rainy day things. I am also doing some research on some new places that might hold some available resources. I am always looking for new ways to save money, and perhaps, time. One place I like to look is on craigslist. There is a "free" section and today, I have found several nice items, including a free house!!! Just have to move it. However, I won't be doing that, but it just goes to show that there ARE free things out there, you just need to know where to look. One thing to always remember, if you do buy something from someone whom you don't know, never go alone when you go to conduct your business. With that said, I have found some free lumber, just need to go pick up. :) Even if you find something that you don't need right now, go pick it up anyway, because I'll show you how things that I've picked up a year ago, are being put to good use this summer. And, if it's a great item, and you know you won't ever use it, such as say a free couch or what have you, if you have the room, go pick it up, and then you can use that to sell for money, or barter with and get something that you need. I have bartered to get things that I've needed. It's just another great useful way to be self reliant! And that's always a plus!!! Happy hunting and pray for sunshine tomorrow so I can get out the power tools and get started on making videos.
Labels:
chicken feeder,
craigslist,
Free,
lumber,
resources,
video
Subscribe to:
Comments (Atom)


.jpg)


